This tutorial is to help you duplicate assets (static meshes, materials, emitters, particle systems, etc) and put these assets in your own map package. I made this tutorial since it was essential for me to do so for my DM-Station 12 map. A similar topic already exist; you can find it here but after numerous attempt, it wasn’t working. By following this tutorial step by step, you should be able to duplicate everything except textures. Note that for textures, it is possible to use another method with the ‘3DRipperDX’ tool which is available here. Now for this tutorial, I’ll duplicate a static mesh (aka SM).
1. Start the Editor, open your map & the generic browser (which should open by default).
2. In the Generic tab, locate the package you want to duplicate. In my case, I choose UN_Cave. Notice that the package title is in grey color.
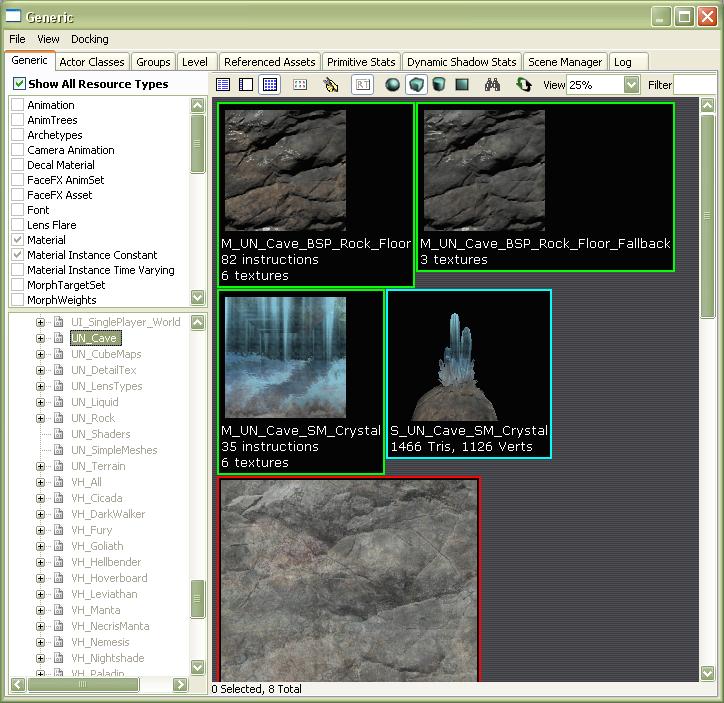
3. Right click that package & select Full load in the contextual menu. The package should appear in black color. If you want to duplicate, rename or delete an asset (in the window at the right) by right clicking on it, you will see that all of these option in the contextual menu aren’t available.
4. Go now in the Log tab & locate the command line at the bottom.
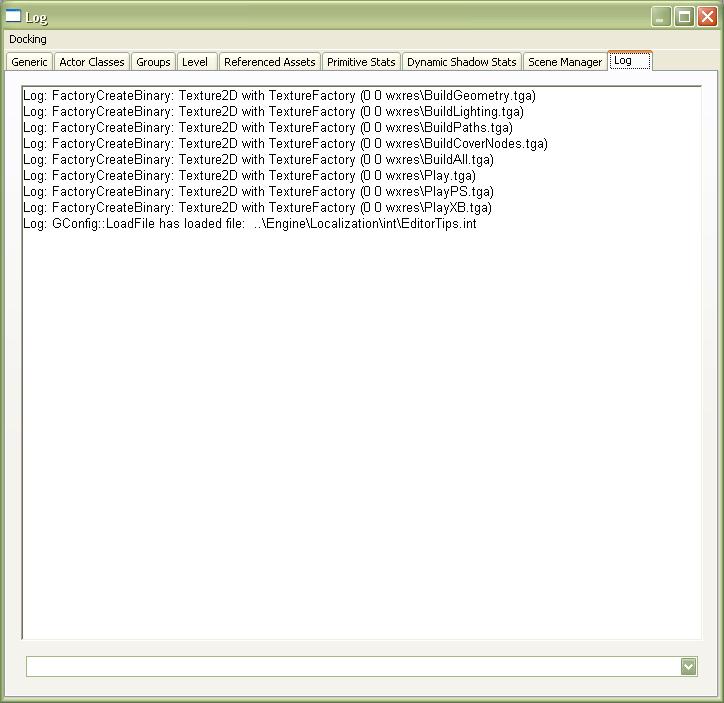
5. Now, you have to use the proper syntax or else, you will end up with a warning message in the log windows. The syntax to use is as follow :
obj savepackage file=[location & name of the temporary package] package=[Epic package to duplicate]
Take note that when you do the ‘savepackage’ you don’t open the package that it save. The file that is saved is just a temporary stream, so it is best to point the ‘file=’ to a temporary folder and use a garbage file name such as C:\Temp\ToDelete.pkg since that is a meaningless file that you can delete later.
The [Epic package to duplicate] is the package you want to duplicate. In my case, it’s UN_Cave. So the correct syntax to type is as follow & press enter when finish :
obj savepackage file=C:\Temp\ToDelete.pkg package=UN_Cave

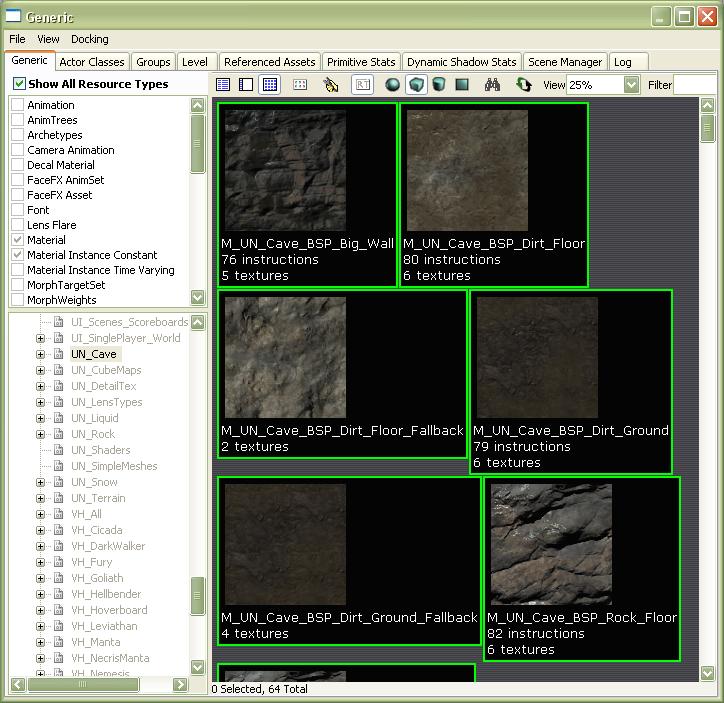
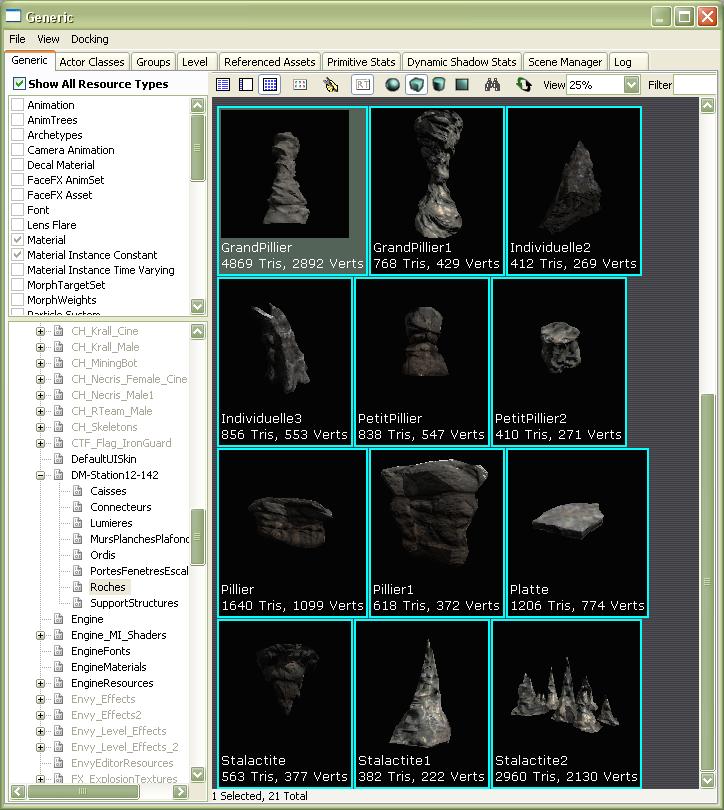
6. Return to the Generic tab, in the UN_Cave package select an asset in the window to the right & know by clicking with the right button of your mouse, in the contextual menu, the duplicate option should be available.
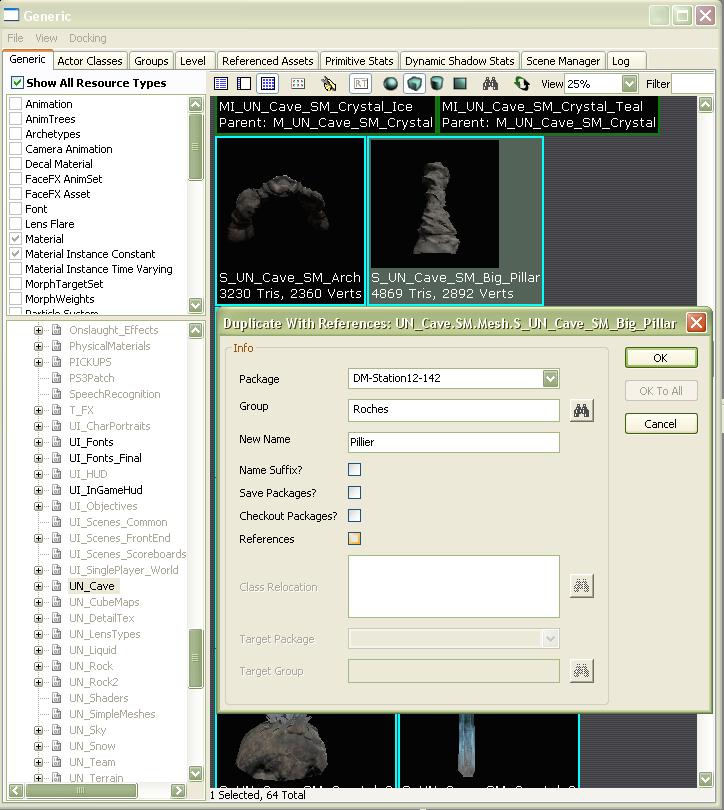
7. I choose an asset & choose to duplicate it. The window that appear is the destination where you want to duplicate the asset. The 3 field are important & should be filled with the correct info. This is the default settings :

This is how it should be fill :
Package = Select your map in the scrolling menu.
Group = Not essential but very practical. It is better that you create several groups in your map package. This will help you stay organize when you begin to have multiple assets included in your map.
New name = The name of the new asset. Since this is a rock asset, I choose an adequate name for this type of rock since I have plenty of them (shape, look, dimension, etc).
Click the OK button when everything is filled up.
8. Go now in your map package. In my case, you can see that under my map, I have several groups since I assign a group for every asset I duplicated. After the asset has being duplicate, you can always rename it, assign a new group, etc. After selecting the SM, return in your map and insert it somewhere. Save your map when your done so the new asset will stay in your map package. If you don’t insert your new SM & don’t save your map at some point, your new stuff won’t be save in your map & you will have to redo everything!
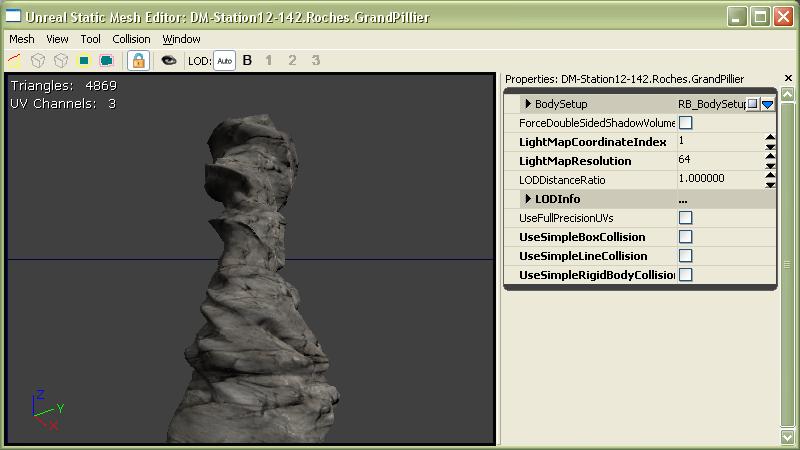
9. Collision
By default, most stock SM use a predefine collision model. Also, you must set the collision model manually for all imported SM. In this particular example, the rock default collision model don’t fit my needs, meaning that I need a collision model that is more ‘precise’ & that require using ‘per-poly’ collision. To accomplish this, open up te SM properties and make sure that ‘UseSimpleBoxCollision + UseSimpleLineCollision & finally UseSimpleRigidBodyCollision‘ are unchecked.
Note that in the case you want to generate a collision model for a imported SM, it is recommended to use the different models available in the collision menu. For a simple object like a cube, the first model (Collision – 6DOP simplified collision) is enough. If your SM is more complex than a cube, just experiment with the DOPs to see which one fit’s your needs. You can also generate a more complex collision model by using (Collision – auto convex collision) or by using the builder brush. You might want to get additional info on this topic from Hourences tutorial under the collision section.
‘Per-poly‘ collision model is very practical but must be use wisely!
The collision model of any SM use a certain amount of memory, the more complex it is, the more memory is used. The collisions cover the SM surfaces, which can be describe as an additional geometry on top of the SM. The default collision model used on many Epic rocks SM is very rough. Brief, most of the rocks collisions models do not use use to many poly’s since most of the time, the rocks SM are more use for decoration around the map & are often mixed together to obtain a great distant look rather than actually be a part of the map playground. So using ‘Per-poly’ isn’t necessary in most case but you have some case the rocks will be a fundamental part of the play area, then you need them to use a more ‘tight’ collision model. In this case, ‘Per-poly’ is the way to go.
A tip I can share & I recommend you to follow, if you have many SM that are interfering with each other, it’s advised to disable collision on all SM involved & make a simple BV that surround them. That way, you will use less resources, memory / CPU wise & your map file should be smaller to 😉
10. How about customs assets, the non Epic ones?
This duplicating method work for stock assets as long as customs assets. If you duplicate customs SM, you will also need to duplicate the textures & redo all materials in your map package. Therefore, when it concern customs assets, respect the other works by asking permission before doing anything with there creation and WAIT for a yes/no! This is the bare minimum mappers / moders expect from the community.
It is customary in the mapping community to give credit to the source of any customs resources that you use, so including the information in your map readme credits for any of the resources used is appreciated.
Hope it help & if this as help you enhance your map, I’ll be happy you let me know 😉

Thankin u muchly 4 the Tut! Saved my Bacon! 8D
LikeLike
Great 😀
I’m happy it help ya out my friend 😉
LikeLike
Thank you Steve!
It has saved a lot of my time. I needed a blue and a red version of a flame particle system, so I quickly copy/pasted the effect and the textures in my level. Now I have my colored flame, like those in Quake3 : 3
LikeLike
Your welcome foufoune 😀
It’s always nice to read that my tutorial helped someone out 🙂
LikeLike